Installing trim around your house can have a massive positive effect on the interior decor. Things like baseboards and crown molding have a way of adding class and elegance to interior spaces and it’s no wonder they’ve grown more and more popular over the last few years.
The good thing about trim installation is the fact that it’s a very simple project. The cost to install interior trim is also quite affordable.
Whether you’re a contractor just starting in this area or a DIY-er trying to improve your home, there are several things you need to keep in mind before installing interior trim. Keep reading!
Make Sure You Have the Right Tools
Any DIY job will need the right tools and installing crown molding is not any different, although you don’t need a lot of tools here. Some of the more common tools to consider include:
-
A compound miter saw designed to help you make accurate cuts on the trim
-
A tape measure for measuring the trim
-
An air compressor with a hose
-
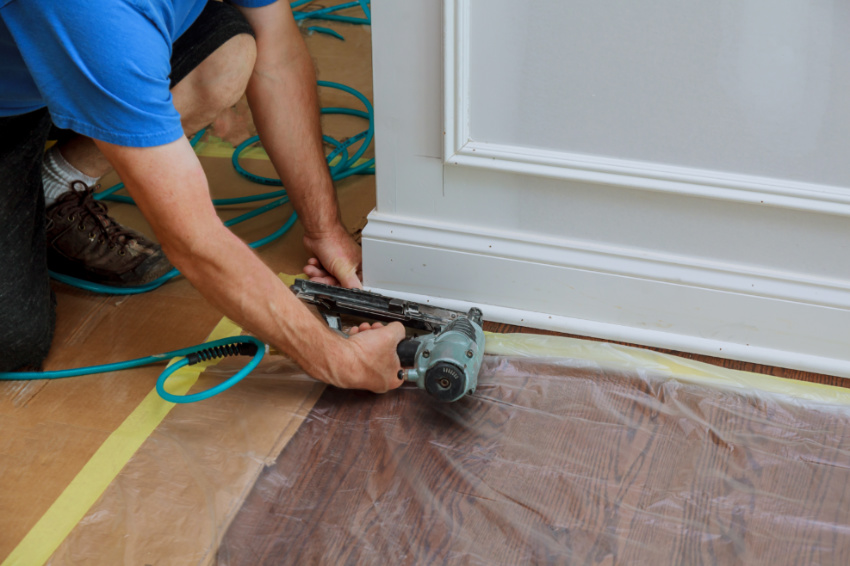
A finish nail gun
But as you get these essential tools, there’s one thing you can’t afford to forget and that’s a sharp pencil, which is used to make markings on the trim before cutting. It has to be sharp to achieve the best accuracy otherwise you will end up with poorly cut trims.
Determine How Much Trim You Need
It’s also important to have a clear idea of how much trim you need. This will obviously depend on the total surface area of the room you are installing it on. You will, therefore, need to do some accurate measuring before hitting the store. A good rule would be to actually buy more trim than you need.
Since you will be installing baseboard trim on your own, there’s a chance you may make a mistake during the process. Every mistake leads to wastages in material so if you buy just the exact amount you need, you may end up delaying the entire project from one single mistake.
Home improvement experts will normally advise you to buy 20% more trim than you need just to be on the safe side.
Understand Your Joints

The joints are an essential part of the trim installation process for several reasons. First, they determine the starting point and ending point of the trim. Joints also give you a reference point that you can use to measure up your trim correctly.
There are three main types of joints when it comes to trim installation:
-
Coped Joints: Coped joints are generally used on the inside corners and are cut at a 45-degree angle.
-
Miter Joints: The joints are normally used to address outside corners and are also cut at a 45-degree angle.
-
Scarf Joints: These are designed to make two shorter boards or trims appear as one single continuous unit after they are attached together.
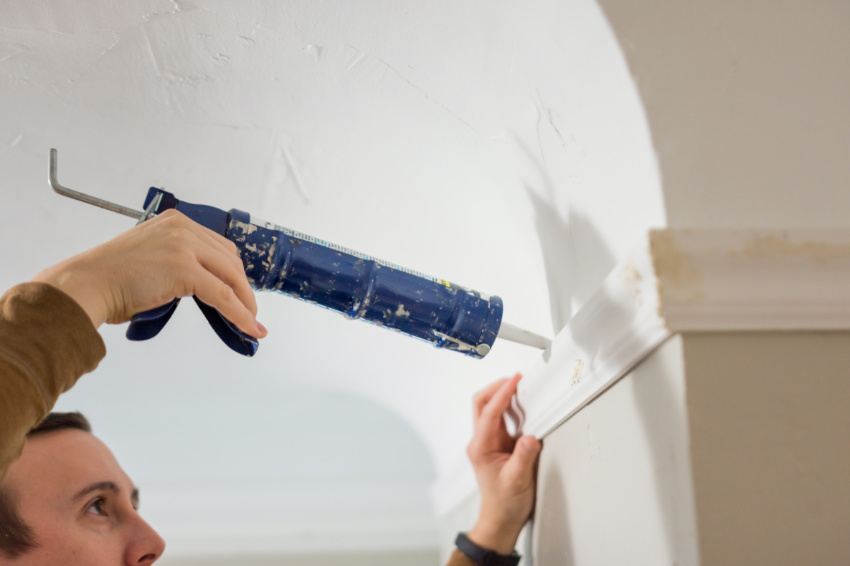
Paint the Trim First

Finally, you may also need to paint your trim before installing it on the wall. The reasoning here is actually simple. It takes less time and work to paint a trim on the ground than when it’s already on the wall.
You may also want to purchase pre-primed boards too if you don’t want to spend a lot of time painting them. The only challenge would be to find the spaces needed to paint the entire trim on the ground. But if you can, go for it.
Adding baseboard trims or crown molding at home is a major home improvement project these days and for good reason. Contact a pro to help you install interior trim without many issues!