Many homeowners, DIYers, and even some carpenters consider crown molding to be one of the most difficult installations to perform. However, with a little patience, motivation, and practice, you can install your own crown molding and turn your lifeless room into an elegant, inviting one.
Materials & Tools
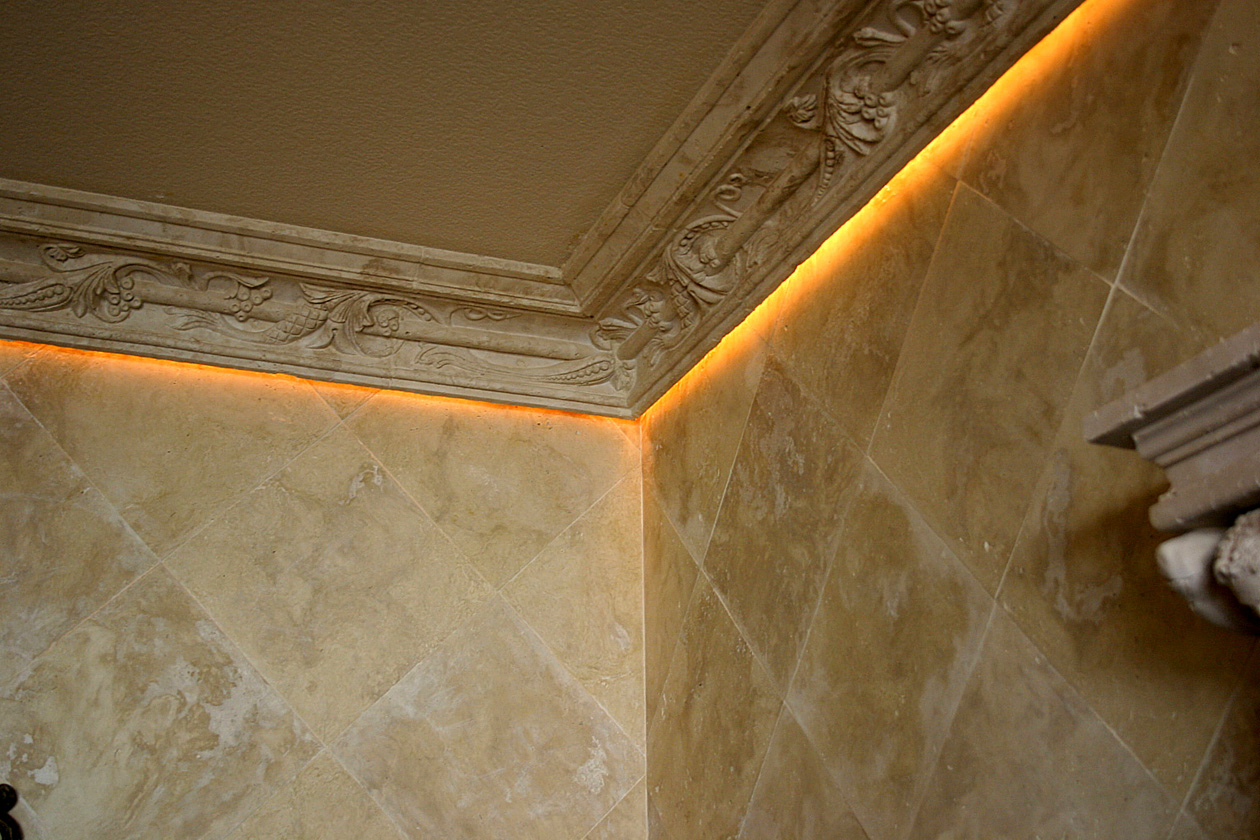
- Crown Molding
- Nails
- Hammer or Pneumatic Finishing Nailer
- Coping Saw
- Miter Saw
- Ladder
- Tape Measure
- Painter’s Tape
- Chalk Line
- Safety Glasses
Mark Your Walls and Ceiling
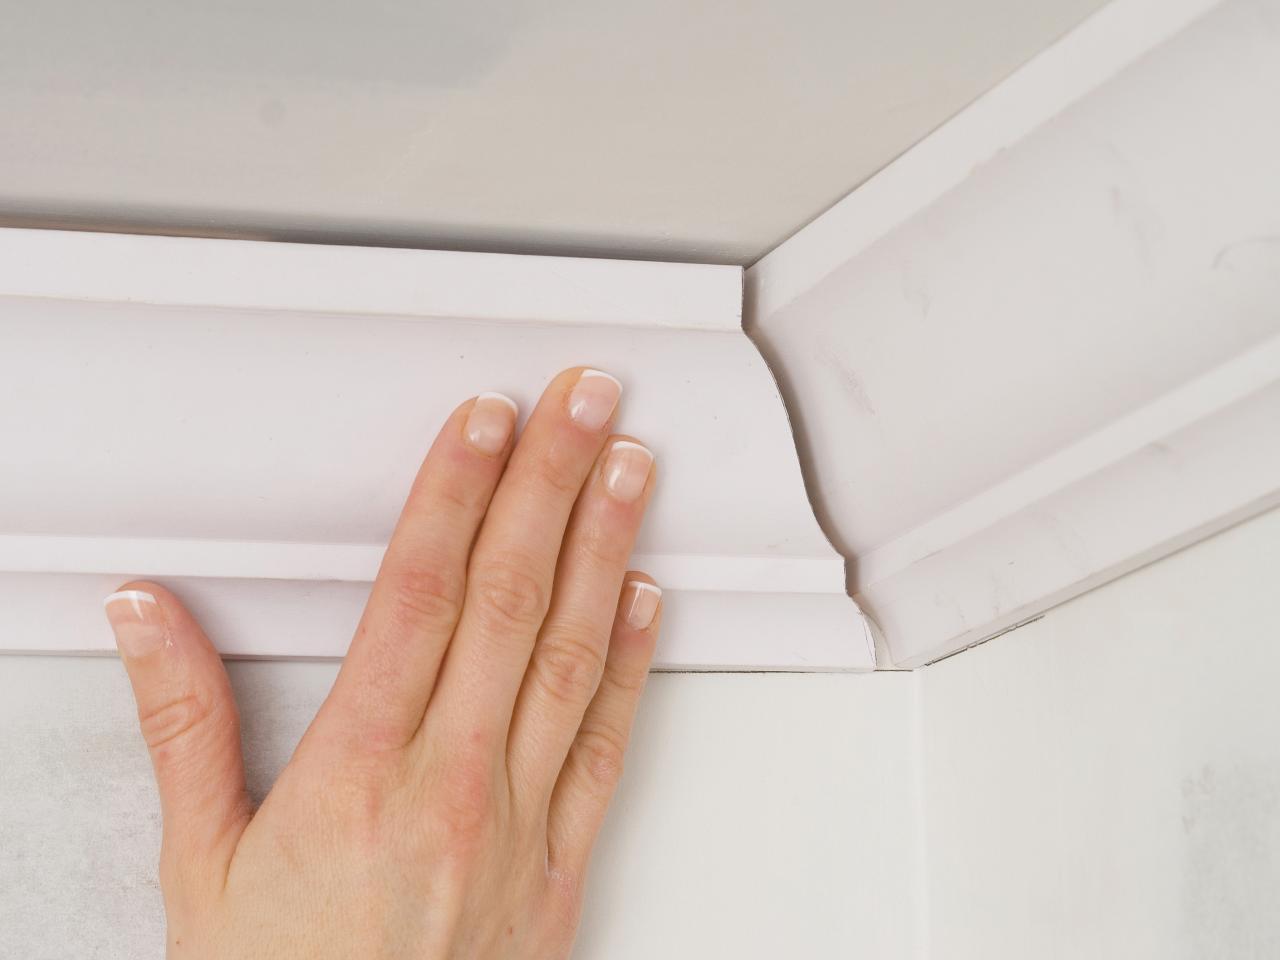
Use chalk lines to position the rail trim and mark where the studs and ceiling joists are. You can either put these marks directly on the wall and cover them with paint later or you can use painter’s tape to protect your walls. Put the tape up around the walls so that the molding will cover about half an inch of the top of the tape then mark the chalk lines and studs right on the tape. This is especially handy if you are going to paint or stain your trim because you already have the painter’s tape up.
Begin Measuring and Cutting
Installing regular trim is fairly easy for any experienced DIYer, but crown molding is more difficult because of the compound angles needed. Because crown molding sits at an angle connecting the walls and ceiling, the corners need to be cut with precision using a miter saw. For the best results, cut the molding upside-down and backwards. Place the wall-facing edge of the molding against the saw’s vertical fence to make your 45 degree cuts. You can put a piece of painter’s tape on the top of each piece of molding to remember which way goes up. Always practice on scrap pieces of wood before working on the real molding until you feel confident in your abilities.
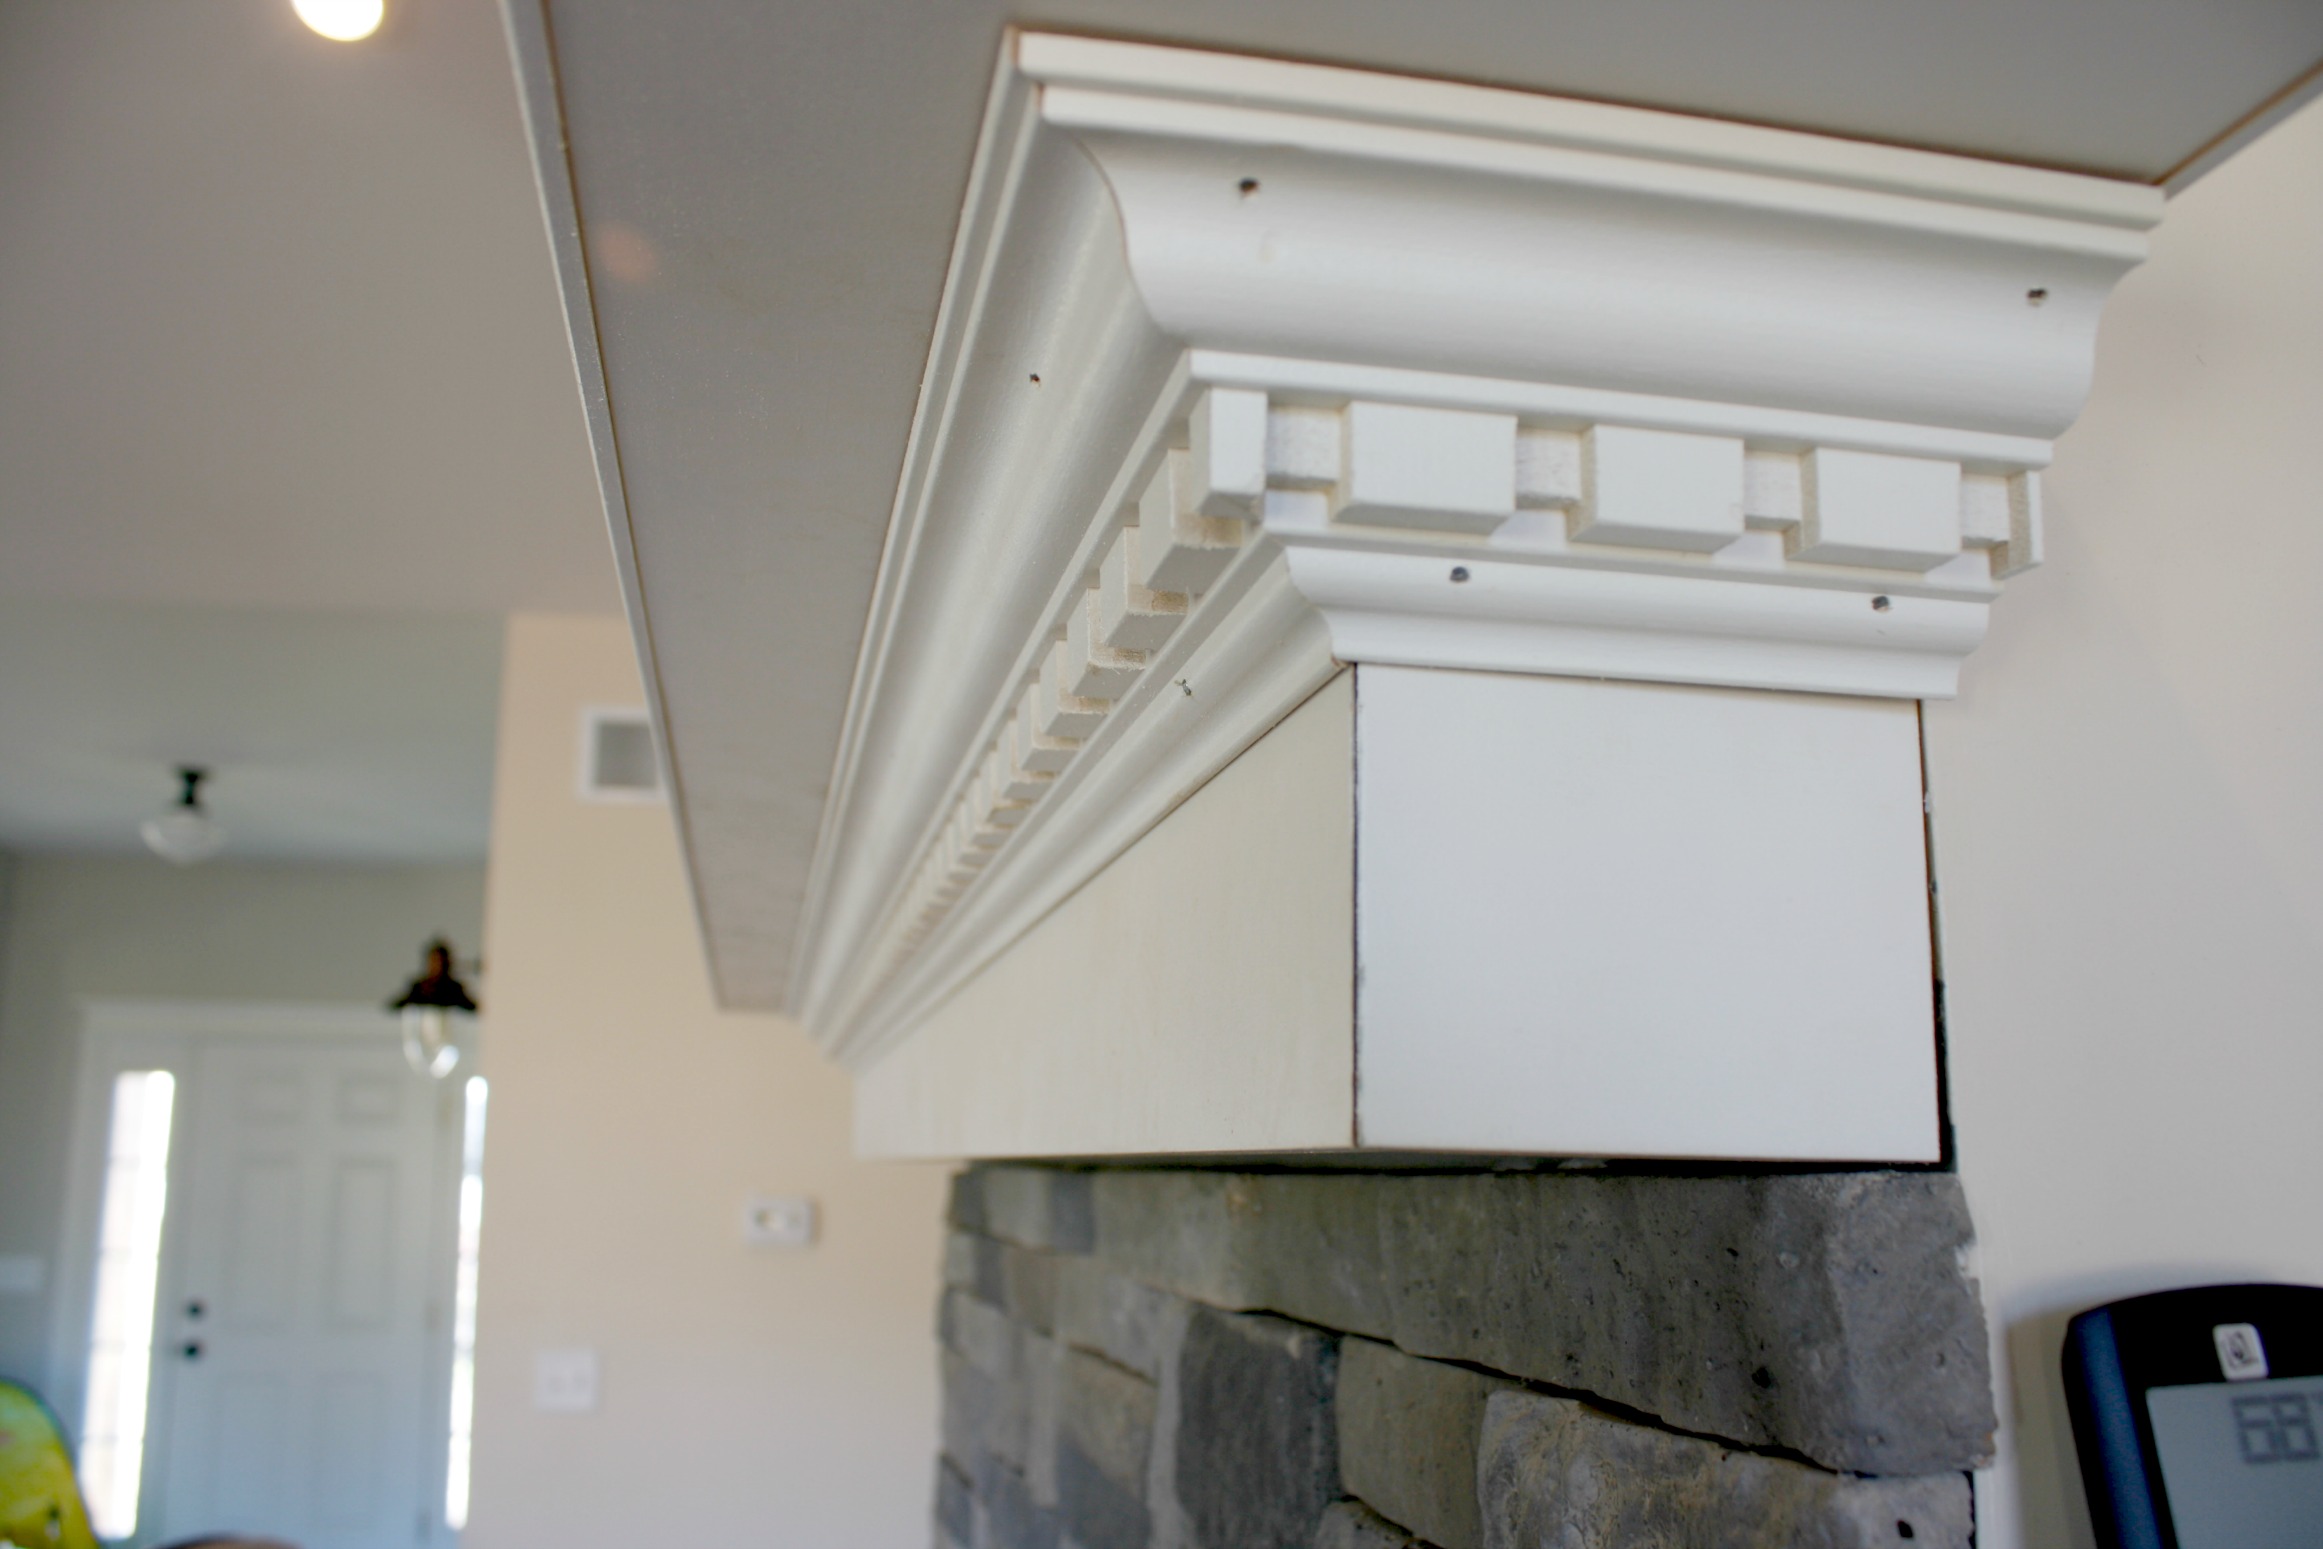
Inside Corners and Outside Corners
The majority of outside corners will work well if cut with mating 45 degree miter cuts. Unfortunately, most walls are not a perfect 90 degrees, so you may need to adjust the cuts on both pieces of molding equally until they fit perfectly. For inside corners, coped cuts are usually the best. Make a 90 degree cut on the end of the first piece of molding and install it tight against the corner. Then make a 45 degree cut on the second piece of molding, making sure to have the exposed cut face outward. Use a coping saw to back-cut along the face, following the profile of the molding. This cut will fit tightly over the first piece of molding, creating an inside corner.
Install Your Molding

Use a pneumatic finishing nailer to install your molding. You can use a hammer and nails, but you’ll need to pre-bore holes for the nails to prevent the wood from splitting. Always test fit pieces of molding before installing them to make sure you have the angles correct because walls are rarely perfectly level.
Finishing Your Molding
After you successfully install your crown molding, use paintable caulk to fill in slight gaps where molding intersects. Also be sure to caulk around the top and bottom edges to seal the molding against the ceiling and walls. Then, you can stain or paint it if you wish. If you didn’t put painter’s tape up before installing your molding, put it up now to make sure you don’t get any paint or stain on your walls or ceiling.
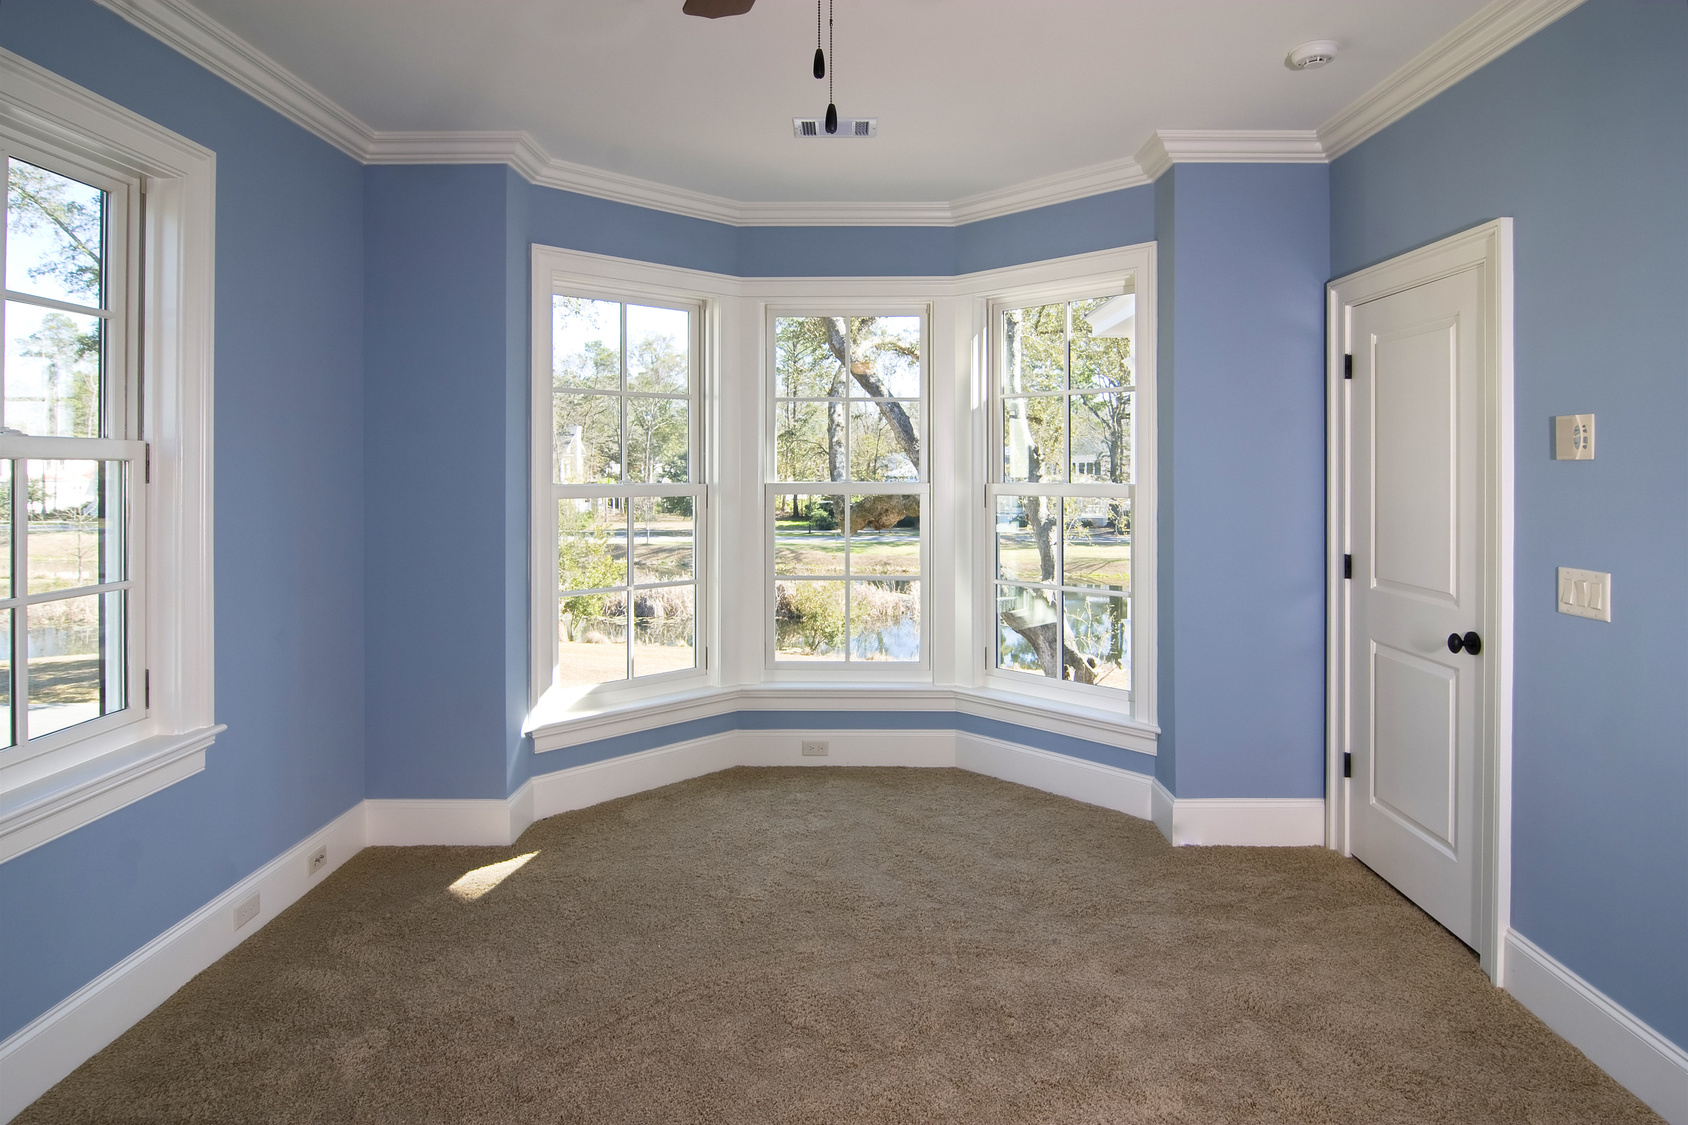
Enjoy your beautiful crown molding! If you think installing your own crown molding is too difficult, or if you don’t have the proper tools, you can always hire a professional to turn your room from boring to stunning.