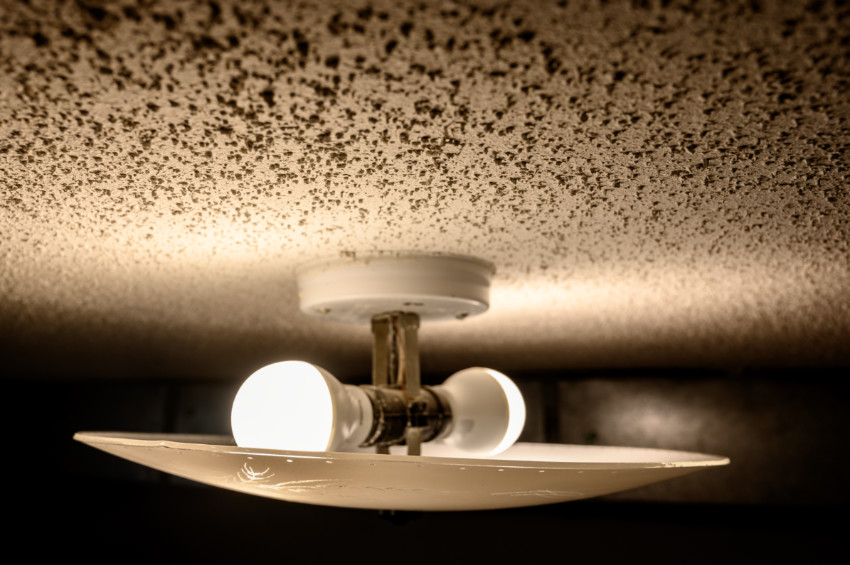
Despite the fact that they are very common in most homes in the US, popcorn ceilings are hated by many homeowners. These ceilings can become an eyesore, especially when they get damaged or if they look too outdated.
Popcorn ceilings are mostly found in older homes and when you consider that there are several modern ceiling options that you can go for, it’s understandable why you can’t wait to get rid of them.
There will, of course, be popcorn ceiling removal costs but it will definitely be worth it. In this post, we’ll give you a few tips that can help you do this job as quickly as possible:
Check for Asbestos
There’s always the risk that your popcorn ceiling may have some asbestos contamination. As we have said above, these are all dated ceilings that are mostly found in older homes.
In that case, before you begin any removal process, make sure you have inspected the ceiling for asbestos. We understand that this is something a lot of people cannot do on their own.
In some states, you’re required to hire state-certified asbestos removal experts and inspectors. Just take a look at the laws in your state and decide what to do next.
Get All the Tools You Need

So, if you’re planning to remove the ceiling on your own, you’ll need to get ready with all the tools required. There are of course many tools for the job. But if you have the main ones, it should be easy to complete the job.
Some of the tools recommended include:
-
Garden sprayer
-
Painter’s tape
-
Wide putty knife
-
Ladder
-
Plastic sheeting
-
Dust mask
-
Safety goggles.
There’s no doubt that the best way to remove popcorn ceilings has to involve the right tools and the right safety gear too. So, don’t take any chances with this.
Protect Your Floors and Walls
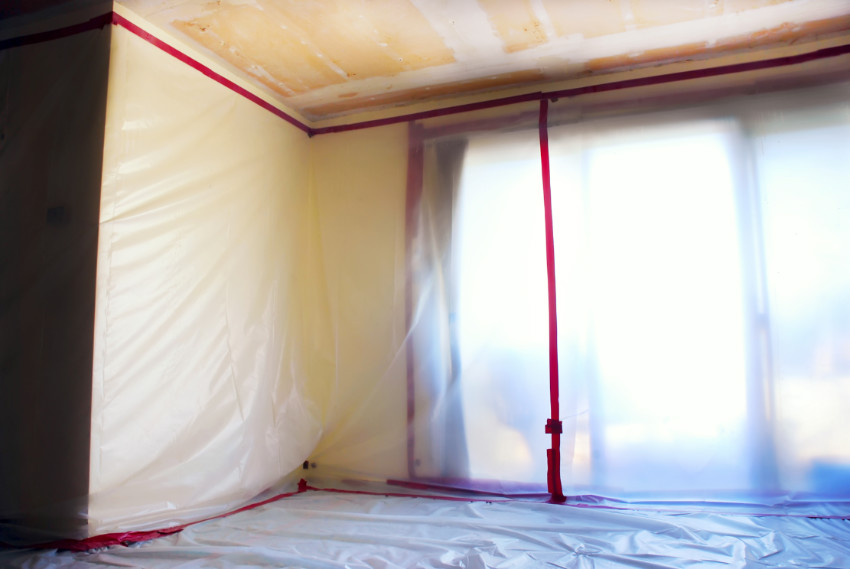
There will be a lot of debris once you start to scrape off that ceiling, and the last thing you want is for this debris to fall all over your floors, your furniture, and your walls. In that case, consider covering your workspace before you start working on the ceiling.
This will allow you to keep the rest of the home protected. It will also make the cleanup after the job much easier. Removing textured ceiling can be very messy so protect yourself by wearing protective clothing.
Remove Ceiling Fixtures
In case there are some light fixtures and other accessories installed on the ceiling, make sure you’ve removed them beforehand. These fixtures will just get in your way and may even be damaged in the process, so let’s avoid that!.
Dampen the Ceiling with Water
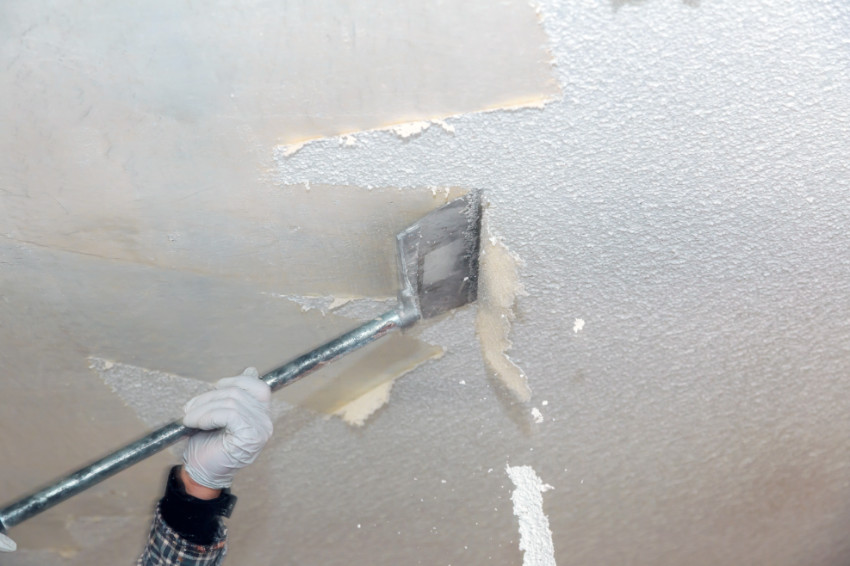
The popcorn ceiling may look fragile but it’s quite sturdy and may require a lot of elbow grease to completely remove it.
However, you can make your work a bit easier by dampening the ceiling with water. This helps to remove the dryness and once you start running your putty knife across it, the ceiling will come off easily.
Applying some water on the ceiling before removing also helps to reduce dust, something that makes it a bit more comfortable for you as you start the removal process.
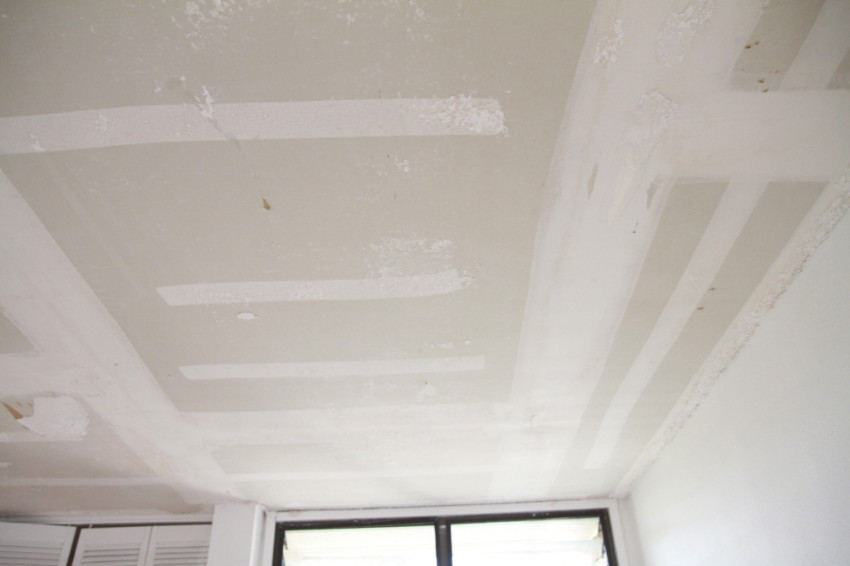
Sand, Prime, and Paint the Ceiling
So, from the tips we have given you above, we assume that you have already covered the walls, the furniture, and the floor in anticipation of the debris that will come off as you remove the ceiling.
This is why you need to take advantage of that prep work by sanding, prepping, and even painting the ceiling once the popcorn is removed.
Pay attention closely to see if there’s any damage to the ceiling and fix it as soon as possible. Painting popcorn ceiling helps to create a modern feel to the home and should be done when the rest of the house is covered.
Contact a local company specialized in popcorn ceiling removal and request a free quote for your project!